Managing Exposure and Position Sizing Across Multiple Trades
Position sizing isn't just about one trade — it's about total portfolio exposure. Learn how to manage correlated pairs, total open risk, scaling in and out, and the rules that prevent a streak of losses from becoming an account wipeout.
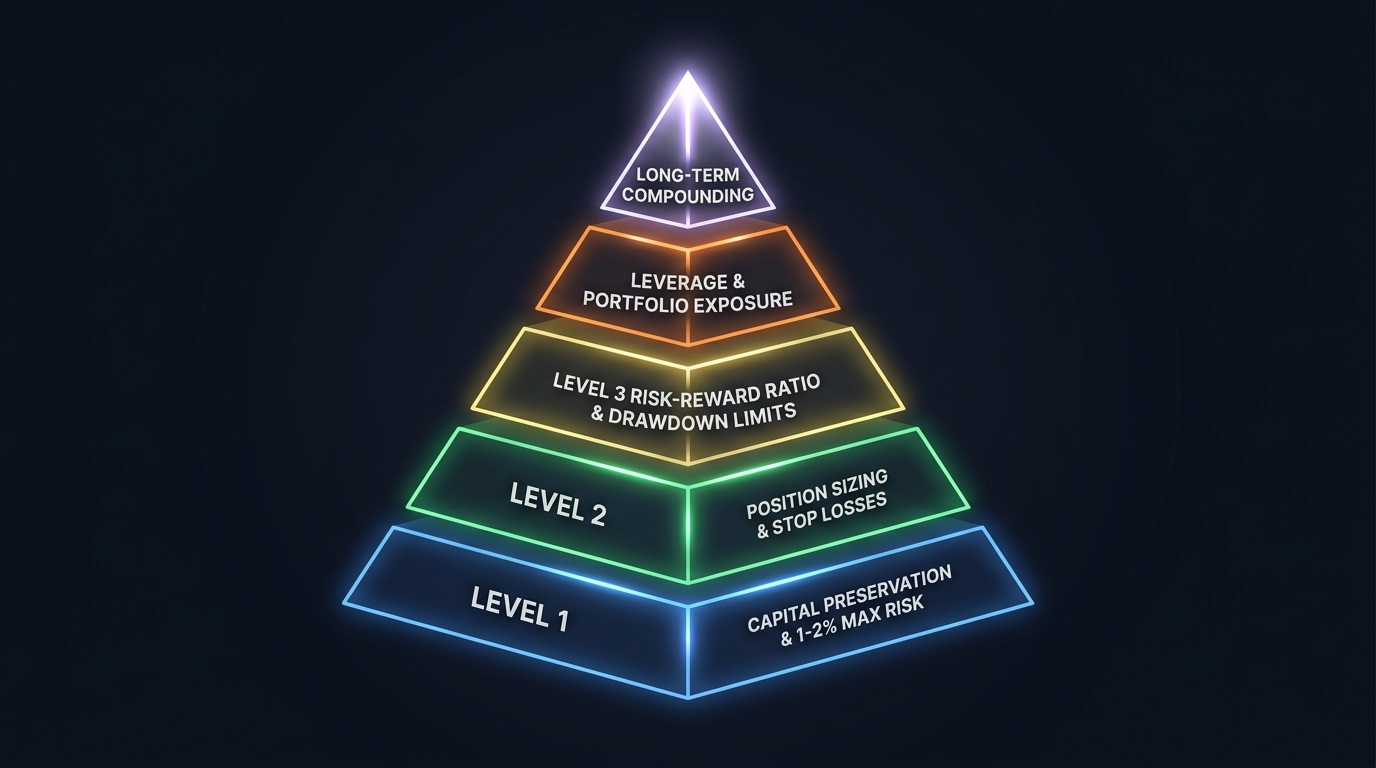
Most position sizing guides focus on a single trade in isolation: risk 1%, place the stop, calculate the lots. That’s the right foundation. But it only covers half the problem.
Real trading involves multiple positions, correlated pairs, and varying market conditions. Managing total exposure — not just per-trade risk — is what separates traders who survive long losing streaks from those who don’t.
Total Portfolio Risk: The Concept You Can’t Ignore
If you have three open trades, each at 1% risk, your total portfolio risk is 3%. That seems fine. But if all three trades are in the same direction on highly correlated pairs, a single macro event that moves the dollar can cause all three to hit their stop-losses simultaneously — and you’ve lost 3% in one move, not over three separate outcomes.
Rule: Track total portfolio risk as a percentage of account, not just per-trade risk.
Practical limits:
| Situation | Maximum Total Open Risk |
|---|---|
| Uncorrelated pairs (EUR/USD + USD/JPY + AUD/JPY) | 3–5% total |
| Correlated pairs (EUR/USD + GBP/USD both long) | 1.5–2% total |
| Single directional bias (all trades long USD) | 2% maximum |
| High-volatility event approaching (NFP, FOMC) | Reduce to 1% or close all |
Understanding Currency Correlation
Currency pairs don’t move independently. Because currencies appear in multiple pairs, the prices of different pairs are mathematically linked.
Positive correlation: Both pairs tend to move in the same direction. Negative correlation: The pairs tend to move in opposite directions.
High positive correlations (2026):
| Pair 1 | Pair 2 | Correlation | Implication |
|---|---|---|---|
| EUR/USD | GBP/USD | +0.85 to +0.92 | Effectively the same directional trade |
| AUD/USD | NZD/USD | +0.88 to +0.95 | Near-identical risk |
| EUR/USD | AUD/USD | +0.60 to +0.75 | Moderate correlation |
| USD/CAD | USD/CHF | +0.70 to +0.85 | Both USD-strength trades |
High negative correlations:
| Pair 1 | Pair 2 | Correlation | Implication |
|---|---|---|---|
| EUR/USD | USD/CHF | -0.85 to -0.95 | Opposite trades, near-hedge |
| GBP/USD | USD/JPY | -0.60 to -0.75 | Partially hedged exposure |
Correlation coefficients change over time, especially during market regime shifts. These are approximate current values for planning purposes. Cross-reference with live correlation tools when making decisions.
The practical rule for correlated pairs:
If you hold EUR/USD long AND GBP/USD long (both positive correlation ~0.88), they are effectively the same trade. Your combined risk should be treated as a single position:
- EUR/USD long: 1% risk
- GBP/USD long: 1% risk
- Effective risk: ~1.88% (not 2 separate 1% risks)
- Better approach: If you want both, size each at 0.5–0.75% risk, keeping combined exposure at ~1.5%
Scaling Into Positions: When and How
Scaling in means adding to a position as it moves in your favor. This increases position size only when the trade is already profitable — the opposite of averaging down.
The legitimate scale-in method:
| Step | Action |
|---|---|
| 1. Initial entry | Open at 50% of intended position size |
| 2. First add | Price moves 1× risk in your favor; add another 25% of position |
| 3. Trail the stop | Move the original stop to breakeven |
| 4. Second add (optional) | Price moves 2× risk in your favor; add final 25% |
| 5. Trail again | Move the stop to protect the first add |
Why this works: Each subsequent add is made from a position of strength (profitable), and the original position’s risk is already reduced to zero or positive by the trailing stop. You never increase your risk — you increase your potential reward.
What scaling-in is NOT: Adding to a losing position (“averaging down”). This is one of the most consistently destructive habits in retail trading. When a position is losing and you add more, you’re doubling down on a trade that has already shown it may be wrong. Never average into a losing position.
Scaling Out: Taking Partial Profits
Scaling out means closing portions of a position at different price levels.
Common scale-out approach:
- Close 50% of position at 1× risk profit (stop moves to breakeven)
- Let remaining 50% run to the full target or trail
Advantages:
- Locks in a win on a portion even if price reverses before the full target
- Reduces psychological pressure of watching profits disappear
- Allows the remainder to capture extended moves
Disadvantages:
- Reduces average win size; can lower overall expectancy if used excessively
- Works against maintaining a high risk-reward ratio
Scale-out works best for swing trades where you have confidence in a partial move but uncertainty about whether price will reach a distant target. For day trades with tight targets (1:2 RR), scaling out often isn’t necessary — the target is close enough to simply let it run.
Pre-News Exposure Management
Scheduled high-impact events (NFP, FOMC, ECB rate decisions) create specific portfolio risk even for traders who don’t trade the news directly.
Protocol:
| Timeframe | Action |
|---|---|
| 60 minutes before major event | Review all open positions in affected pairs |
| 30 minutes before | Decide: reduce, hold, or close each affected position |
| 15 minutes before | Execute decisions; no new entries |
| At release | No new entries; monitor existing positions |
| 15–30 minutes after | Assess whether thesis remains intact; normal trading resumes |
“Affected pairs” means any pair containing the currency about to have a major data release. A USD news event affects EUR/USD, GBP/USD, USD/JPY, AUD/USD — essentially all major pairs.
Decision framework for existing positions:
- If the position is significantly in profit: move stop to protect most of the gain; leave it open
- If the position is near breakeven: close before the event eliminates the need to decide under pressure
- If the position is in a small loss: close and re-evaluate after the event
The Drawdown Protocol: Reducing Size When Losing
Position sizing should not be static during losing streaks. When drawdown reaches specific thresholds, position sizes should reduce:
| Drawdown Level | Response |
|---|---|
| 0–5% | Normal position sizes |
| 5–8% | Reduce position sizes to 75% of normal |
| 8–12% | Reduce to 50% of normal; intensive journal review |
| 12–15% | Reduce to 25%; formal system evaluation |
| 15%+ | Stop trading; full review before returning |
Why reduce size during drawdowns?
At 10% drawdown, your account is already 10% smaller. If you continue at the same risk percentage, the dollar amount risked per trade is smaller — but the psychological pressure to recover pushes many traders to increase size instead. That’s the path to destruction.
Reducing size during drawdowns achieves two things: it limits further damage, and it rebuilds confidence incrementally before returning to normal sizing.
Complete Position Management Checklist
Before opening any new position, run through:
- Is total open risk below 3% (5% for uncorrelated setups)?
- Are any open trades correlated with this new trade? If yes, is combined risk within limits?
- Is there a high-impact news event within 2 hours?
- Is the account in drawdown? If yes, is position sized accordingly (reduced)?
- Is the stop-loss set based on structure (not arbitrary pips)?
- Has the position size been calculated using the position size calculator?
Key Takeaways
- Per-trade risk management is incomplete without total portfolio exposure management
- Correlated pairs (EUR/USD + GBP/USD long) effectively double your directional exposure; treat them as a single position for risk sizing
- Scale into positions (adding when profitable) is valid; averaging down (adding to losers) is not
- Scale out (partial profit-taking) reduces risk and psychological pressure; the tradeoff is lower average win size
- Reduce position sizes mechanically during drawdowns: 75% at 5–8% DD, 50% at 8–12%, 25% at 12–15%
- Before every high-impact news event, review all open positions in affected pairs and make active decisions — not passive ones

Ready to Practice This Strategy?
Test what you learned on a free, risk-free demo account before risking real money.